Top Tips for Using Masking Tape in Painting Projects
When it comes to painting projects, whether for home improvement or professional tasks, masking tape is an essential tool that can make the difference between a clean, polished finish and a messy job. Flexibond, a leading masking tape manufacturer in India, is here to provide you with expert tips on how to use masking tape effectively in your painting projects.

Understanding Masking Tape
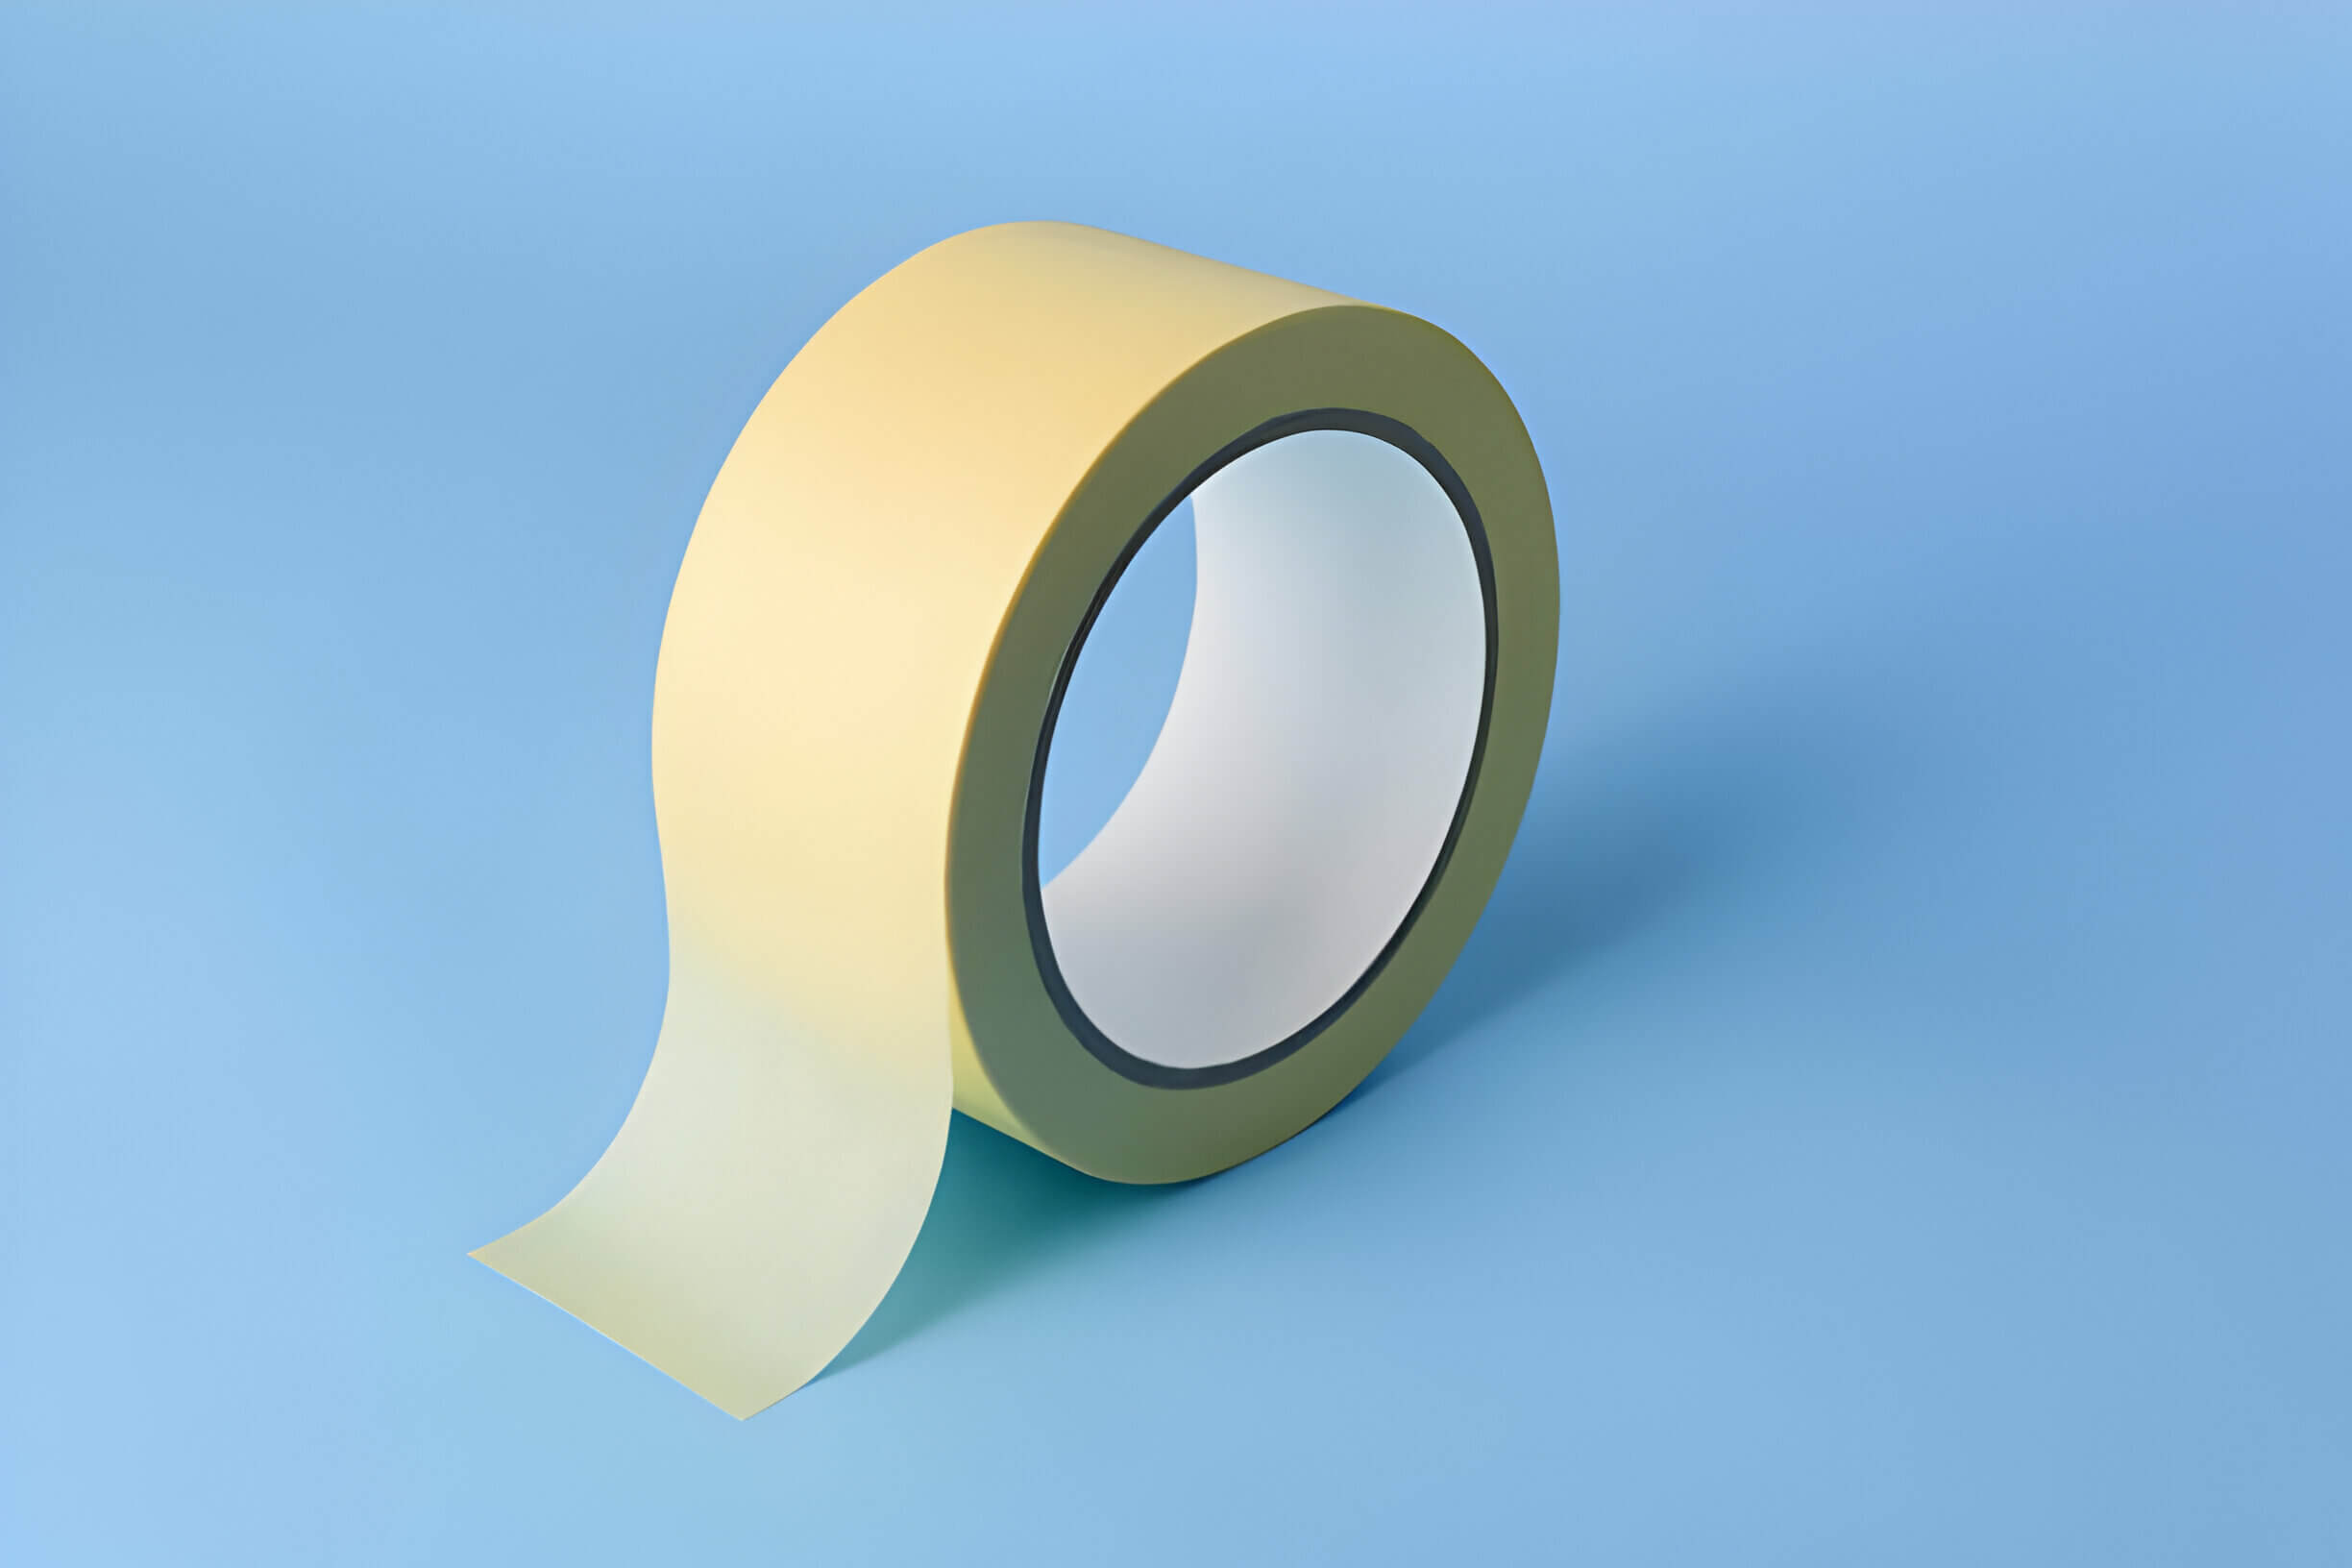
Masking tape, also known as painter’s tape, is a type of pressure-sensitive tape made of thin and easy-to-tear paper. It is designed to be easily removed without leaving residue or damaging surfaces. The primary purpose of masking tape is to protect areas that should not be painted, ensuring clean and precise edges.
Choosing the Right Masking Tape
Not all masking tapes are created equal. The type of tape you choose can greatly impact the quality of your painting project. Here are some factors to consider when selecting masking tape:
Adhesive Strength: Choose a tape with the right level of adhesion for your surface. High-adhesion tapes are suitable for rough surfaces, while low-adhesion tapes are ideal for delicate surfaces.
Width: The width of the tape should match the precision needed for your project. Narrow tapes are perfect for detailed work, while wider tapes are better for larger areas.
Quality: Opt for high-quality tapes from reputable manufacturers like Flexibond, a renowned masking tape manufacturer in India. High-quality tapes ensure better performance and easier removal.
Preparing the Surface
Before applying masking tape, proper surface preparation is crucial. Follow these steps to ensure the tape adheres well and protects the surfaces:
Clean the Surface: Remove dust, dirt, and grease from the surface with a damp cloth. This ensures the tape sticks properly.
Dry the Surface: Ensure the surface is completely dry before applying the tape. Moisture can weaken the adhesive.
Smooth the Surface: If the surface is rough, sand it lightly to create a smooth base for the tape to adhere to.
Applying Masking Tape
Applying masking tape correctly is an art. Here are some tips to achieve the best results:
Straight Lines: Use a level or a straight edge to apply the tape in straight lines. This is especially important for edges and borders.
Press Firmly: Press the tape down firmly along its entire length to ensure a good seal. Use a putty knife or a similar tool to smooth out any air bubbles.
Overlap: When applying tape to corners or irregular surfaces, overlap the tape slightly to avoid gaps where paint can seep through.
Painting with Masking Tape
Once the tape is applied, you can start painting. Here are some tips to keep in mind during this phase:
Seal the Edges: To prevent paint from bleeding under the tape, seal the edges by applying a thin layer of the base color along the tape line. This creates a barrier that stops the top color from seeping through.
Multiple Coats: If your project requires multiple coats of paint, let each coat dry completely before applying the next. This prevents the tape from lifting or peeling off.
Avoid Overloading: Avoid overloading your brush or roller with paint. Excess paint can seep under the tape, ruining your clean lines.
Removing Masking Tape
Removing masking tape at the right time and in the right way is crucial to achieving clean lines and avoiding damage. Follow these steps for optimal results:
Timing: Remove the tape before the paint is completely dry but not too wet. Ideally, remove the tape when the paint is dry to the touch but still pliable.
Angle: Remove the tape at a 45-degree angle to the painted surface. This helps prevent the paint from peeling off with the tape.
Slow and Steady: Pull the tape off slowly and steadily. Rushing can cause the tape to tear or the paint to peel.
Common Mistakes to Avoid
Even experienced painters can make mistakes. Here are some common pitfalls to avoid:
Using the Wrong Tape: Using low-quality or incorrect tape for the surface can lead to poor adhesion and paint bleeding.
Improper Surface Preparation: Skipping the cleaning and drying steps can result in poor tape adhesion and messy edges.
Leaving Tape On Too Long: Leaving tape on for too long can make it difficult to remove and may cause the paint to peel off.
Advanced Masking Tape Techniques
For more complex projects, you might need to employ advanced masking techniques. Here are some tips for those intricate jobs:
Curved Lines: For curved lines, use flexible masking tape that can bend and flex without creating wrinkles or gaps.
Designs and Patterns: If creating designs or patterns, use multiple layers of tape and carefully plan your layout. Use a sharp blade to cut intricate shapes.
Texture Surfaces: For textured surfaces, use a tape with higher adhesion and press it down firmly to ensure it sticks well to all contours.
Environmental Considerations
As a responsible masking tape manufacturer in India, Flexibond emphasizes the importance of environmentally friendly practices. When using masking tape, consider the following:
Eco-Friendly Tape: Opt for masking tapes made from biodegradable or recyclable materials.
Minimal Waste: Use tape efficiently to minimize waste. Measure and cut the tape to the exact length needed.
Proper Disposal: Dispose of used tape properly. Avoid leaving tape residues in the environment.
Conclusion
Using masking tape effectively can transform your painting project from average to professional. By selecting the right tape, preparing your surface, applying the tape correctly, and removing it at the right time, you can achieve crisp, clean lines and a polished finish. Trust in quality products from Flexibond, a leading masking tape manufacturer in India, to ensure the success of your next painting project. With these tips and a bit of practice, you’ll master the art of using masking tape and elevate your painting skills to new heights.
For more information on Flexibond’s range of masking tapes and other products, visit Flexibond.

No comment yet, add your voice below!